


Step One: Gather Your Ingredients
- 1 medium-sized pumpkin
- 2 carrots
- 1 stalk celery
- 1 medium white onion
- 2 cloves garlic
- 4 cups vegetable stock
- 4 cups pumpkin flesh, cubed or diced
- 1 cup cream
- 1 cup dry white wine
- 1 tablespoon rosemary, chopped
- 1 tablespoon sage, chopped
- Salt to taste
- Ground white pepper
- Roasted pumpkin seeds (garnish)
- Cilantro (garnish)

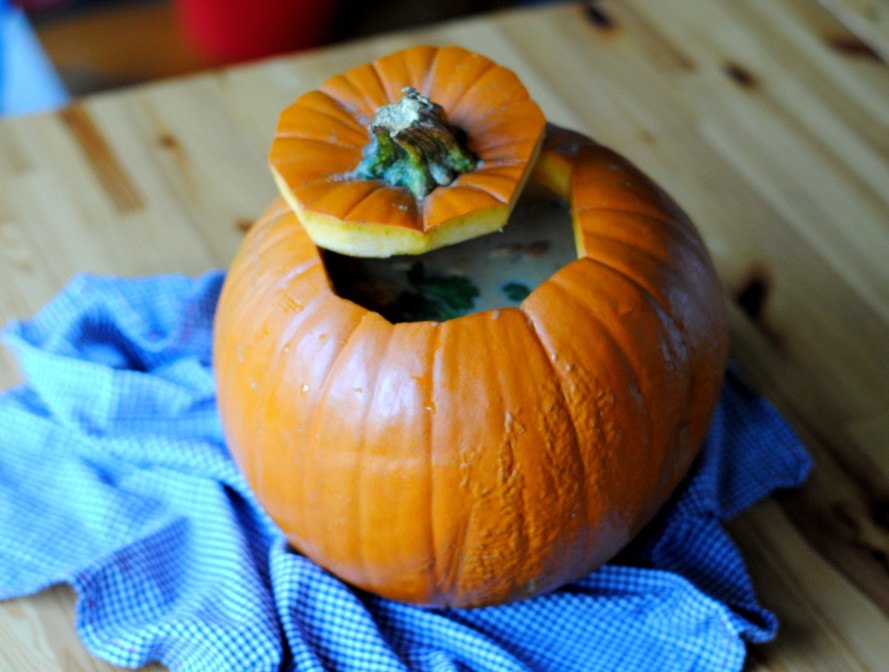
Step Two: Cut And Remove Lid
Wipe the exterior of the pumpkin clean. Using a long, sharp knife, slowly cut a round opening in a circle about 2 1/2 inches wide all around the stem. Grasp the stem and pull the lid out.

Step Three: Remove Seeds And Flesh
Using a metal spoon, scrape out all the “guts” (stringy orange strands) and seeds out of the pumpkin shell and into a bowl. Also scrape guts and seeds off of the lid.

Next, use the metal spoon to carefully scrape off the pumpkin flesh into a bowl. You should be able to scrape off approximately 3-4 cups of pumpkin flesh from inside the pumpkin shell. Be careful not to scrape too deeply, since you’ll be re-filling the shell with soup and need it to remain intact.
RELATED: The Homesteader’s Guide To A Perfect Pumpkin Spice Latte
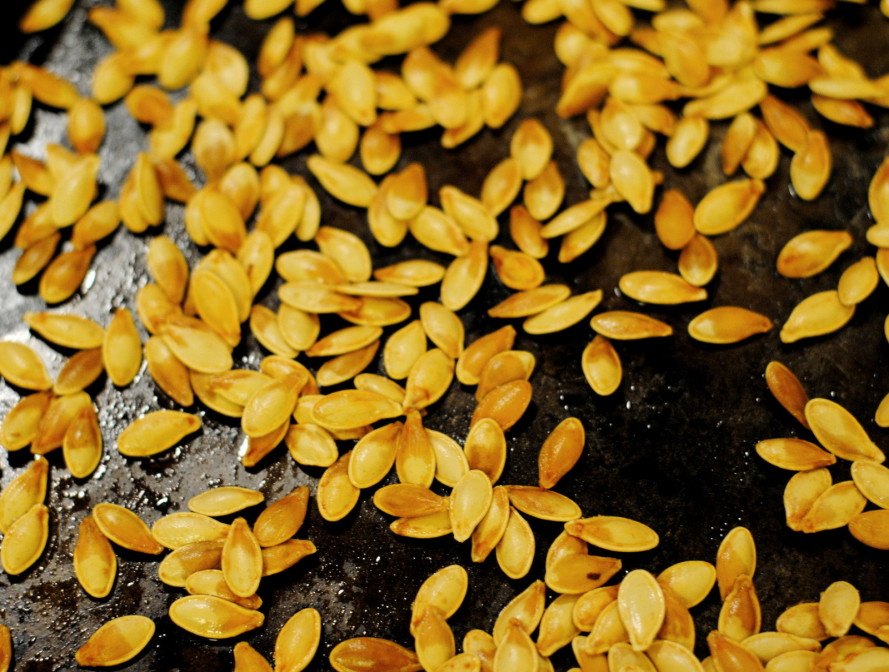
Step Four: Roast Seeds
Preheat the oven to 325 degrees Fahrenheit. Rinse the pumpkin seeds in cold water and separate and compost any remaining flesh and strings that are stuck to the seeds. Pat them dry with a paper towel and spread them on an aluminum baking sheet. Drizzle the seeds with olive oil and sprinkle with sea salt. Place the seeds in the preheated oven and set your timer for 15 minutes. At 15 minutes, stir the seeds and turn them over, spreading evenly. Continue to bake, checking at 10 minute increments, until the seeds just begin to turn golden brown and toasty. Remove seeds from oven and cool.

Step Five: Prepare Soup
Place a large soup pot or dutch oven over low heat and add two tablespoons of olive oil. Finely dice the onion and garlic, and sautée. Dice carrots, celery, and herbs and add to pot, then cover. sautée on low heat, stirring occasionally until onions are softened.

Add stock and pumpkin and simmer for 20 minutes. Check pumpkin to make sure it is soft, then blend the soup with an immersion blender or in batches in a blender. Blend gently to break up the biggest pieces of pumpkin, leaving small bits for a chunky texture. Add white wine, cream, salt and pepper, and slowly bring back to a simmer.
Step Six: Fill Tureen
Once soup is ready, carefully fill the cleaned out pumpkin shell tureen using a ladle. Place tureen on a plate or serving platter to catch drips.

Step Seven: Serve And Enjoy!
Bring the pumpkin soup tureen to the table and serve the soup by ladling it directly out of the pumpkin! Garnish each bowl with freshly roasted pumpkin seeds and sprigs of cilantro. Bonus – the tightly fitting lid of the pumpkin shell will actually help keep the soup warm at the table.
All photos by the Author


